
A custom web application succeeds when it solves a defined business problem and makes essential tasks easier to complete. Effective custom web application planning begins with clear goals and user needs, then turns them into practical user flows, accessible mobile-ready screens, and development requirements.
An application must do more than look polished: it needs to support the way your customers, staff, and administrators work. This guide explains how to set measurable objectives, map user flows, plan for accessibility and mobile use, and test designs before development, giving you a practical basis for decisions throughout the project.
Key Takeaways
- Define the business problem, intended users, and measurable outcomes before deciding which features to build.
- Map customer and administrator tasks in written steps and wireframes to expose gaps before development.
- Prioritize mobile usability and make interactive elements accessible with keyboard controls.
- Plan discovery, design, quality assurance, and user acceptance testing so revisions happen before launch.
Defining project goals, audiences, and success metrics
Start custom web application planning by linking a specific business problem to user needs and measurable outcomes. Before development begins, document the scope, milestones, decision-makers, and key risks.
-
Define Project Goals and Audiences
First identify the problem and the people affected, such as customers, staff, or administrators. For each group, name a task the application must support, such as placing an order or checking its status. Define success using an observable measure, such as fewer manual handoffs or faster order processing. Separate essential functions from optional features, and identify whether existing systems already handle the task.
-
Draft the Project Brief
Capture the plan in a concise project brief. Include the audience, problem, required pages and features, integrations, design references, content needs, and target launch date. Record assumptions and exclusions so stakeholders share the same understanding of scope. Name a decision-maker and document who approves requirements, designs, and completed work. When new requests arise, the brief provides a shared reference for deciding whether they fit.
- Set milestones for discovery, requirements, design, development, testing, and launch. Base the timeline on scope, integration complexity, content readiness, and stakeholder availability, rather than an arbitrary launch date. Agree on review points and use short delivery cycles to surface issues early. Track decisions, owners, dependencies, and changes in one shared project record.
- Set scope around the outcomes the application must support, then assess its value against business results. For example, reducing repeated data entry could free staff to handle customer requests. Choose technologies based on required functions, integrations, data needs, and the development team’s capabilities. Common options include JavaScript frameworks such as React, with Node.js or PHP on the backend and MySQL or PostgreSQL for relational data.
- Manage project risks by controlling scope changes, clarifying integration requirements, and assigning approval owners. Test assumptions before they shape development, and define acceptance criteria for each feature. Common pressure points include vague requirements, delayed decisions, and late discoveries about existing systems. Regular reviews can reveal these risks while changes are still manageable.
Creating textual and visual user sequences
Break each core task into steps, showing how users move from entry point to completion. Map customer and administrator actions to uncover unclear handoffs before development.
-
Align Business Objectives and User Needs
Translate a business objective into a user task, then define what completion means for that user. For a clinic appointment portal, a patient might select a service, choose a time, enter details, and receive confirmation. Map staff follow-up steps as well. Avoid flows that meet an internal target but leave users unsure about what to do next.
-
Map User Journeys
Map each journey from entry point to completed task, including decisions, errors, and exits. For an expense approval application, show how an employee submits a claim, adds a receipt, and tracks its review. Then map how a manager checks details, requests changes, or approves it. Account for first-time and returning users, who may start in different places. Mark handoffs between roles clearly.
-
Sketch Textual and Visual Sequences
Write each sequence before sketching screens: user action, system response, and next choice. Create simple wireframes and connect them with arrows, including empty, loading, and error states. Place the call to action where the next step is clear, such as “Submit claim” after the required fields are complete. Compare the visual flow with the written sequence to ensure labels, buttons, and transitions match.
- Prepare adoption by showing staff how a changed workflow affects daily tasks. Walk users through the prototype, collect points of confusion, and revise the sequence before development. Keep a decision log with owners and approvals to prevent stalled handoffs. If you need help translating journeys into clear interfaces, custom application UX design can connect each screen to its intended task.
Designing for accessibility and mobile responsiveness
For an application used in the Philippines, define security, privacy, and accessibility requirements based on its data, users, and tasks. Specify what information it handles, who can access it, and how users can complete core actions on mobile devices and with keyboard controls.
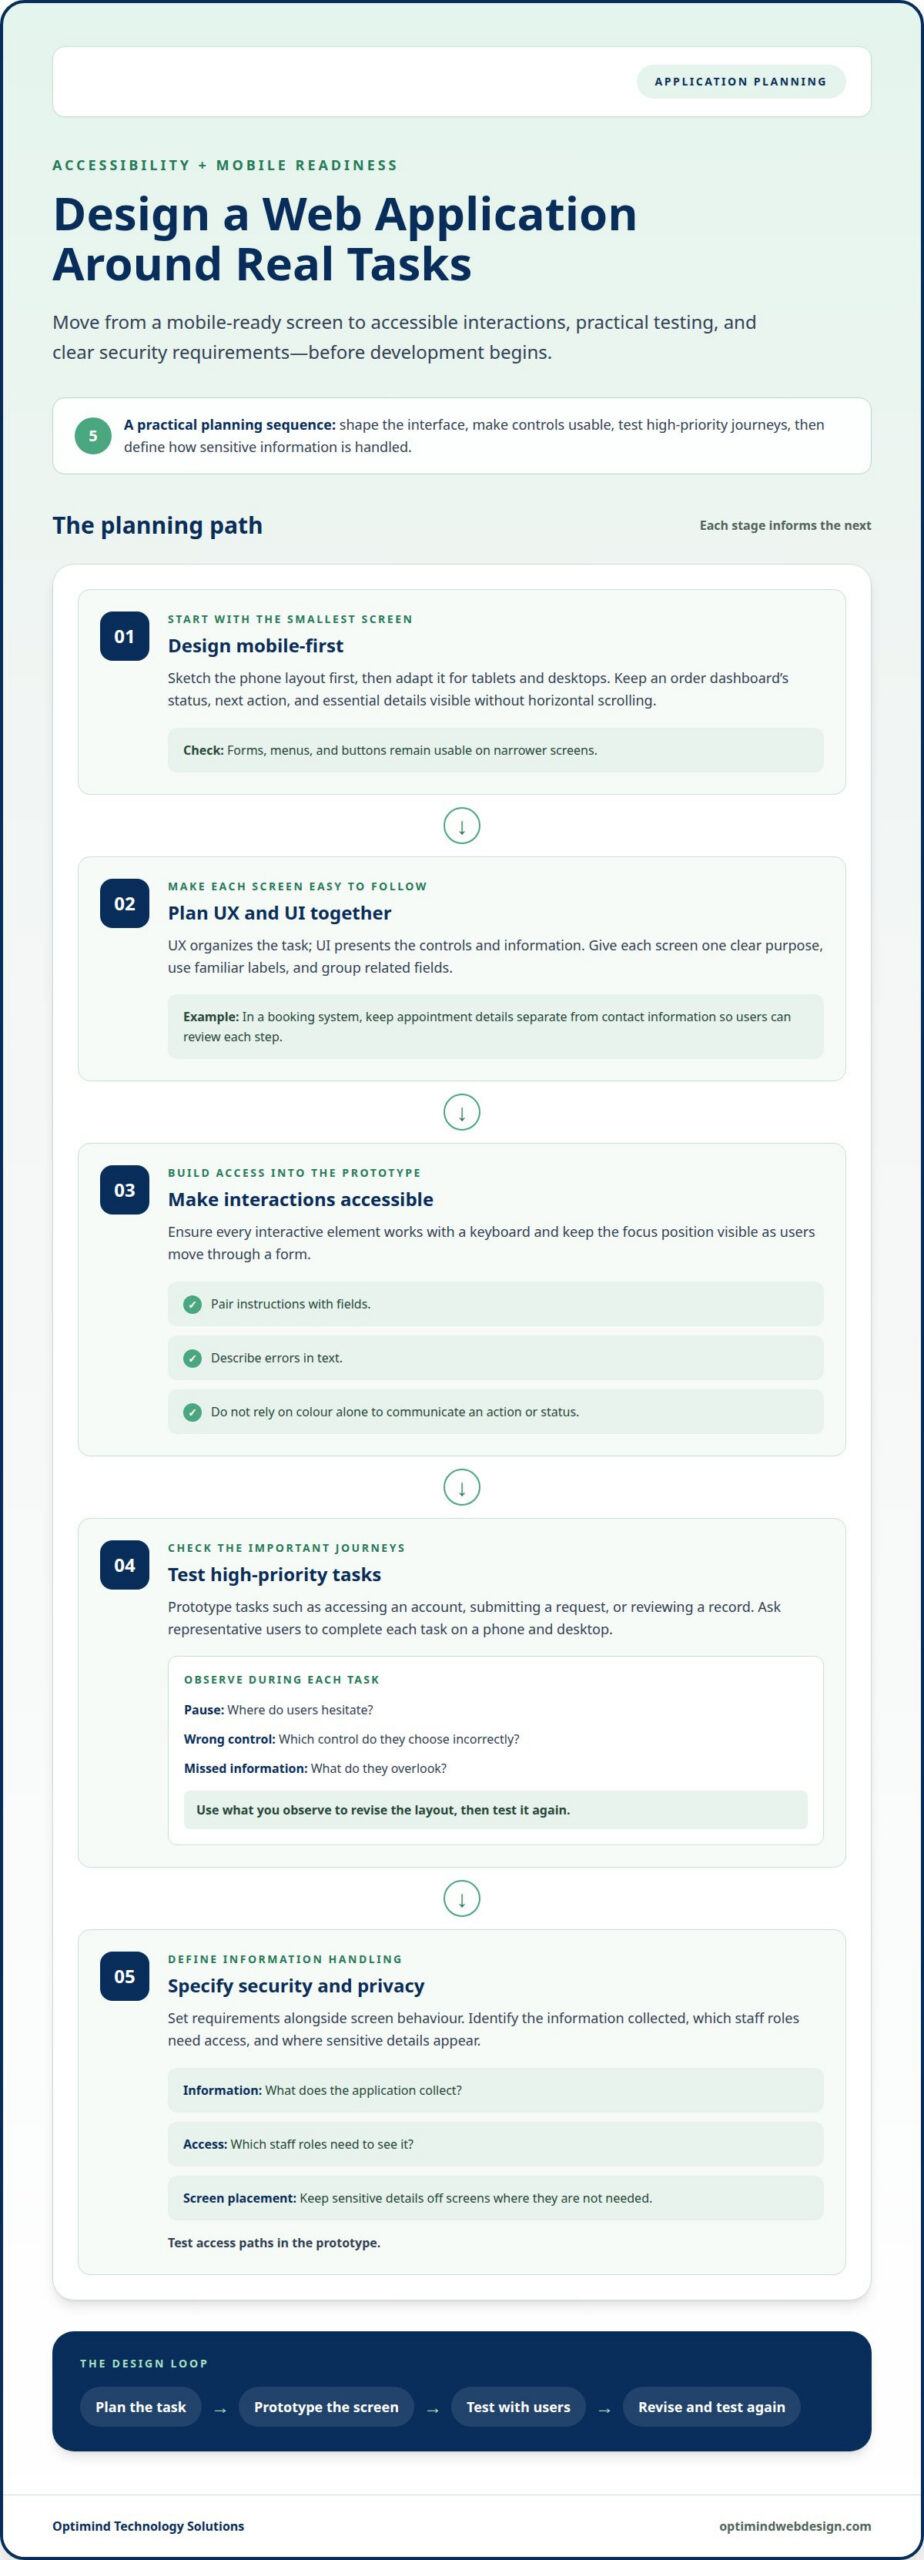
- Design mobile-first by sketching the smallest screen before adapting the interface for tablets and desktops. In an order dashboard, keep the status, next action, and essential details visible without horizontal scrolling. Check that forms, menus, and buttons remain usable on narrower screens.
- Plan UX and UI together: UX organizes the task, while UI presents the controls and information. Give each screen one clear purpose, use familiar labels, and group related fields. In a booking system, for example, separate appointment details from contact information so users can review each step.
- Build accessibility into every prototype. Make sure users can operate all interactive elements using only a keyboard, and keep the focus position visible as they move through a form. Pair instructions with fields, describe errors in text, and do not rely on colour alone to communicate an action or status.
- Prototype high-priority tasks before development, such as accessing an account, submitting a request, or reviewing a record. Ask representative users to complete each task on a phone and desktop. Note where they pause, choose the wrong control, or miss information. Revise the layout and test it again.
- Specify security and privacy requirements alongside screen behaviour. For a customer profile, identify the information collected, which staff roles need access, and where sensitive details appear. Keep those details off screens where they are not needed, and test access paths in the prototype. In the Philippines, align project requirements with the application’s data use and intended audience.
- Review each revision against real tasks, not visual preference alone. Confirm that users can read content, navigate controls, and complete the intended action on mobile. Before handing designs to development, document approved changes and any unresolved issues.
What are the main steps in custom web application planning and development?
Move from requirements to launch in controlled stages, with a decision and review point at each handoff.
- Research the problem and its context. Review comparable applications to identify useful patterns and frustrating gaps, then define how yours will address the need. If the application also includes public-facing pages, consider search needs early so content and structure can support discovery.
- Turn findings into approved requirements. Break each user task into features, integrations, data needs, and acceptance criteria. During discovery and requirements, allow 2-4 weeks as a planning reference, then adjust the schedule to scope and decision readiness.
- Design and validate the interface before coding. UI/UX design may take 2-3 weeks; use that stage to review screens, test important flows, and resolve unclear steps. Keep stakeholder feedback focused on task completion and agreed requirements.
- Build in manageable releases. Divide work into small units, assign owners, and review completed functionality at each delivery point. Some companies release a minimum viable product in about 3 months, then expand it using user feedback and business needs.
- Test quality throughout development, not only before launch. Quality assurance and testing typically account for 25-30% of custom application development time. Check core tasks, integrations, error handling, and mobile layouts against acceptance criteria.
- Stage the application before production. Test it in a staging environment, resolve defects, and assess performance under a load of 1,000 simultaneous users. Confirm content and account access before release, and do not publish blank placeholder pages.
- Prepare launch and ongoing improvements. Track user feedback after release, prioritize fixes by their effect on essential tasks, and schedule updates as needs change. For a build that needs coordinated planning, design, and development, plan your custom web application with a specialist team.
Optimind Technology Solutions: Custom Web Application Development
Optimind Technology Solutions develops custom web applications for businesses whose workflows need more than a standard website can provide. Engage the team when you need to bring specific user tasks, business processes, and application features together in a coordinated digital experience.
For a customer portal, internal dashboard, or specialized online workflow, Optimind can bring requirements, interface design, and development together around your goals. UX Design helps shape clear user paths, while Web Design and Development supports the wider digital experience. E-Commerce Development can support projects where online purchasing is central to the application.
Bring your goals, audience needs, and key workflows to an initial project discussion. Contact Optimind Technology Solutions to discuss your custom web application.
Turn Your Application Roadmap Into Action
Decide which workflow needs attention first. Choose a task that creates friction for customers or staff, then use it to guide the application’s initial release. A focused starting point helps your team prioritize later improvements without expanding scope before the core experience works.
Keep the roadmap active after launch. As business needs and user behaviour change, assess proposed updates by their practical value, required effort, and effect on connected workflows. This keeps custom web application planning tied to operational priorities rather than a fixed feature list.
Optimind Technology Solutions brings web development expertise to applications shaped around business needs. When you’re ready to move from roadmap to project discussion, contact Optimind Technology Solutions. Take the next step with a clear direction and a focused plan.
Frequently Asked Questions
What is a custom web application (and why it matters)?
A custom web application is browser-based software built for specific business tasks, rather than a general-purpose website. It is useful when people need to submit information, view relevant records, or move work through a defined process. For example, a supplier portal could let vendors update delivery details while staff review changes in one system instead of coordinating through scattered messages.
How Are They Different from a Standard Website?
A standard website mainly presents information, while a web application lets users interact with data and complete tasks. A company website might describe its services; a client portal could let customers track requests, update account details, or download documents. The difference lies in the main purpose: publishing content or supporting an ongoing workflow. Some digital products do both.
How Do I Keep Control of an Outsourced Web Project?
Agree on ownership, access, and approvals before work starts. Put scope, deliverables, acceptance criteria, and code and content ownership in the project agreement. Keep the code repository and relevant accounts in your company’s name, and appoint an internal decision-maker. Maintain a shared record of approved changes to reduce misunderstandings when priorities shift during development.
How Do I Protect Data in a Custom Web App?
Start by identifying what information the application needs and who should be able to access it. Set user permissions according to each person’s role, and limit access to the records and actions they need. Agree on how sensitive information will be handled and who will review access as roles change. These steps help your team manage data responsibly throughout the application workflow.
Ready to Build Your Custom Web App the Right Way?
Start with a specific business task, the people who need to complete it, and the systems the application must connect with. Optimind Technology Solutions provides Custom Web Application Development for specialized workflows. To discuss turning your requirements into a project, contact Optimind Technology Solutions and explore the right next step for your business.
Real-World Examples: What Does a Custom Web App Look Like?
A custom web application could give suppliers a secure place to update product details, route equipment maintenance requests to the right staff, or help managers review operational records. Each example supports a process with distinct users and actions. The interface and features depend on the workflow: who submits information, who reviews it, and what needs to happen next.